서론
쿠러미 프로젝트의 베타 버전이 배포되었기 때문에, 어플리케이션의 기본적인 모니터링이 필요해졌다.
따라서 프로메테우스와 시각화 툴인 그라파나를 사용하게 되었다.
비교
다른 모니터링 툴과 비교했을 때 프로메테우스를 선택한 이유는 다음 정도이다.
1. 오픈소스이기 때문에 무료이다.
2. 스프링과의 통합이 쉽다. Spring Boot Actuator와 Micrometer을 통해 별도의 설정 없이 자동으로 프로메테우스로 어플리케이션의 메트릭 정보가 전송된다.
3. 생태계가 넓어 자료가 많다.
의존성 추가
implementation 'org.springframework.boot:spring-boot-starter-actuator'
implementation 'io.micrometer:micrometer-registry-prometheus'
actuator 의존성을 추가해 어플리케이션의 메트릭 정보를 수집하고 /actuator api로 노출시킨다.
micrometer 라이브러리를 통해 /actuator/prometheus로 프로메테우스가 메트릭정보를 수집한다.
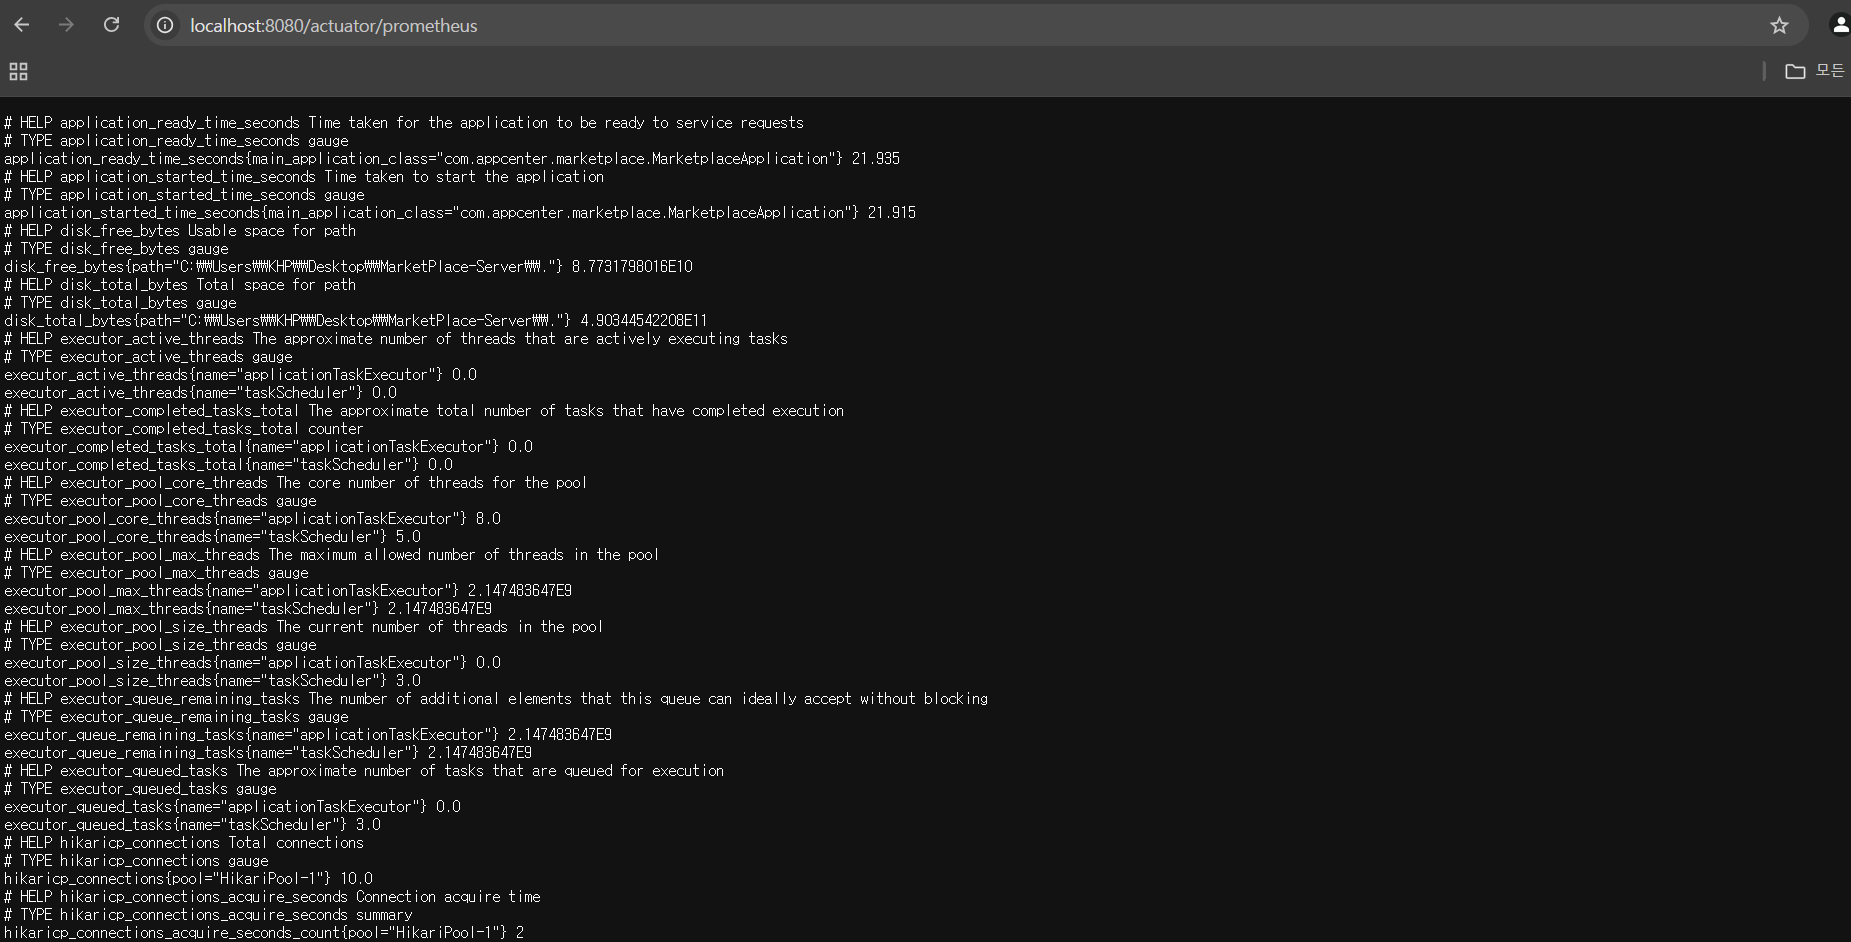
그 후 해당 api로 접속하면 메트릭 정보가 뜨게된다.
이제 프로메테우스가 해당 어플리케이션에서 메트릭 정보를 가져갈 수 있게 설정을 해보자.
프로메테우스 설정
먼저 yml 파일을 프로메테우스가 실행될 서버에 만들어둔다.
prometheus.yml- 배포용
global:
  scrape_interval: 15s

scrape_configs:
  - job_name: 'kurrumi'
    metrics_path: /actuator/prometheus
    static_configs:
      - targets: ['localhost:8088']
prometheus.yml- 로컬용
global:
  scrape_interval: 15s

scrape_configs:
  - job_name: 'kurrumi'
    metrics_path: /actuator/prometheus
    static_configs:
      - targets: ['host.docker.internal:8080']
도커 run 명령어
docker run \
  --name kurrumi-prometheus \
  -p 9092:9090 \
  -v /home/serverking/marketplace/prometheus/prometheus.yml:/etc/prometheus/prometheus.yml \
  prom/prometheus
docker-compose 파일 - 배포용
# docker-compose-monitoring.yml

version: '3'

services:
  prometheus:
    image: prom/prometheus:latest
    container_name: prometheus-kurrumi
    ports:
      - "9092:9090"
    volumes:
       - /home/serverking/marketplace/prometheus/prometheus.yml:/etc/prometheus/prometheus.yml
docker-compose 파일 - 로컬용
prometheus:
  image: prom/prometheus:latest
  container_name: prometheus-kurrumi
  ports:
    - "9092:9090"
  volumes:
    - ./prometheus.yml:/etc/prometheus/prometheus.yml
그라파나 연결
현재 앱센터에 있는 그라파나로 연결하려면 insightip.inuappcenter.kr로 연결하면 된다.
그라파나를 docker-compose로 실행하려면 다음 코드를 추가하면 된다.
grafana:
    image: grafana/grafana:latest
    container_name: grafana-kurrumi
    user: "$UID:$GID"
    ports:
      - "3002:3000"
    volumes:
      - ./grafana-data:/var/lib/grafana
    depends_on:
      - prometheus
volumes를 꼭 설정해야한다고 한다. 도커 컨테이너가 내려가도 Grafana에서 설정한 대시보드나 데이터 소스가 사라지지 않도록 해야하기 때문이다.
이때, grafana image내 /var/lib/grafana의 쓰기 작업을 위해 user: "$UID:$GID"를 설정해야 한다고 한다.
초기 화면
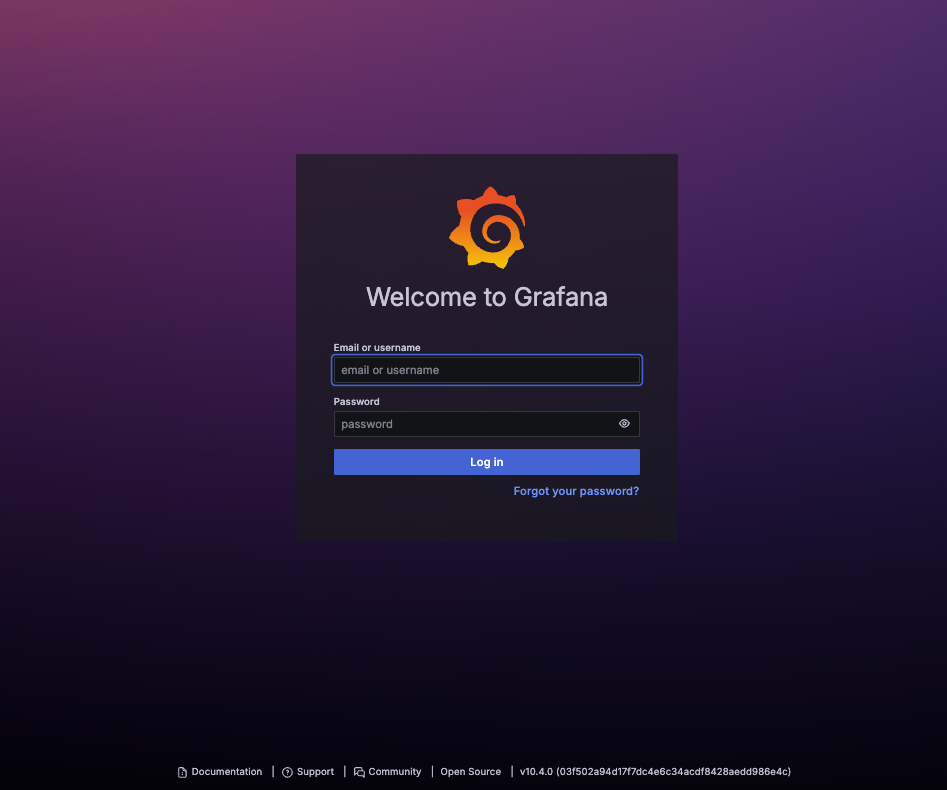
아무 설정하지 않았다면 유저네임과 패스워드 모두 admin이다.
프로메테우스 데이터 소스 추가
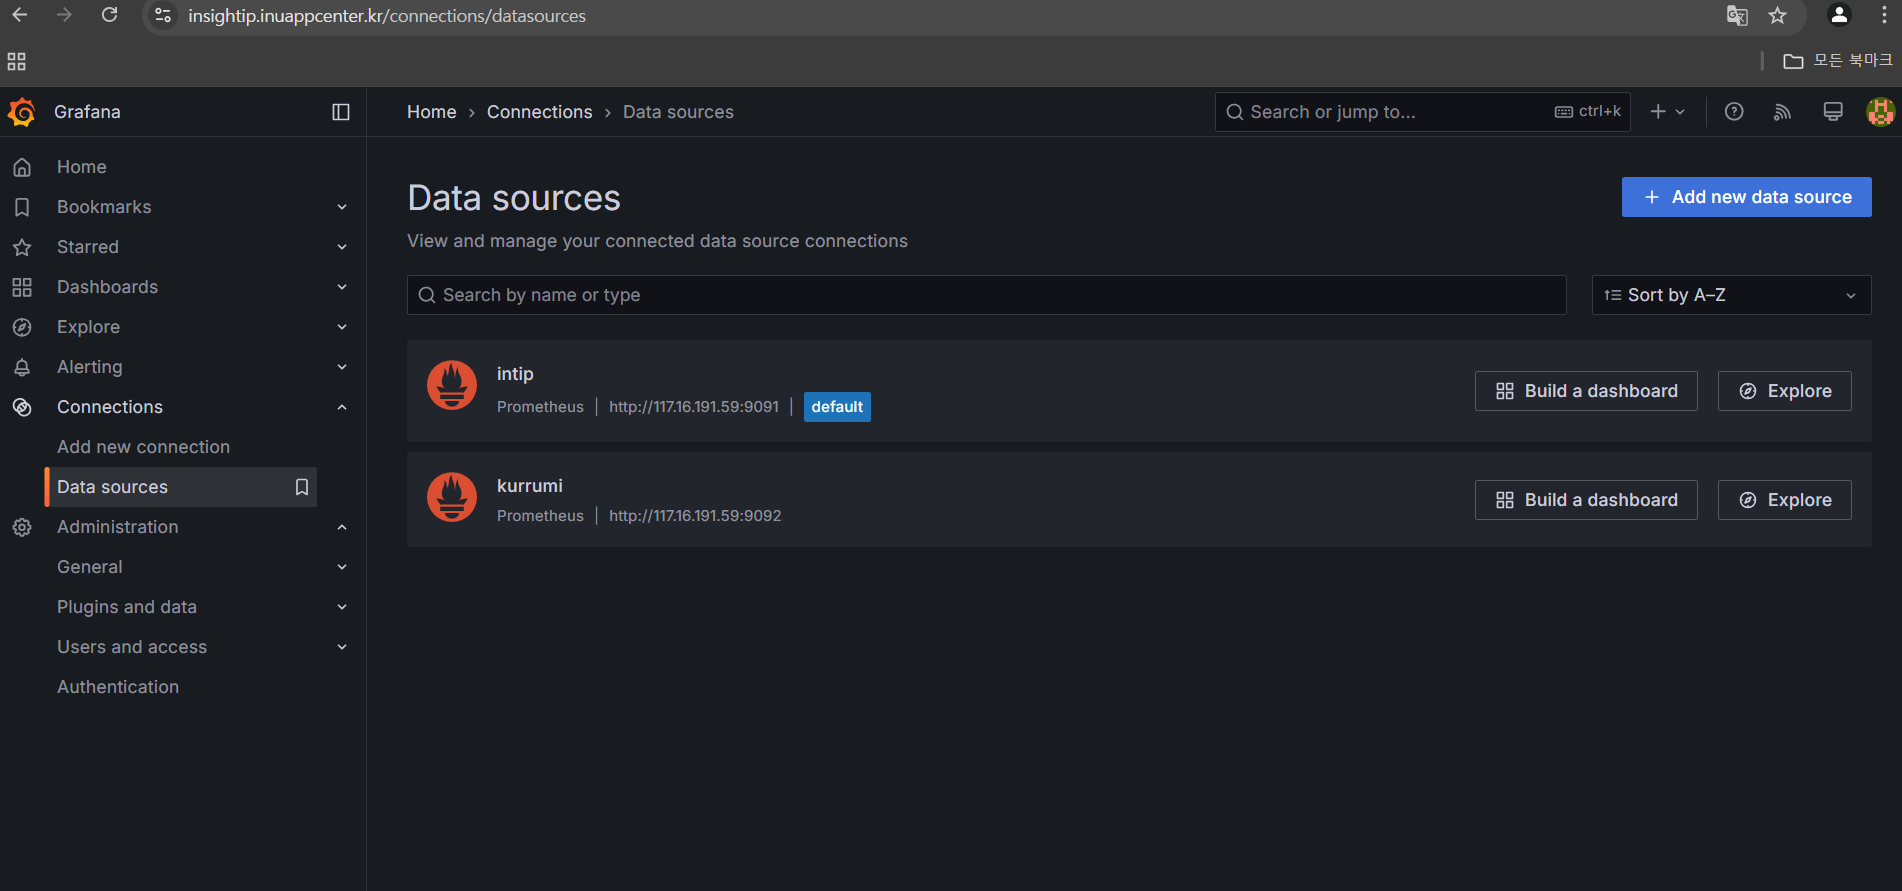
다음과 같은 순서로 프로메테우스 데이터 소스를 추가하면 된다.
좌측 네비 바 Connections -> Add data source -> Prometheus 선택 -> prometheus url 입력 후 save & test를 누르면 된다.
대시보드 생성
대시보드는 다른 사람이 제작한 대시보드를 import 할 수도 있고 커스텀 할 수 있다.
나의 경우는 4701번을 import해 스프링부트 메트릭 정보를 보여주는 유명한 대시보드를 가져왔다.

'쿠러미' 카테고리의 다른 글
| [쿠러미] FCM 외부 API 이벤트 기반 비동기 처리 & Retry (0) | 2025.04.01 |
|---|---|
| [쿠러미] FCM 구독, 알림 기능 개발 & 비동기 전환 (0) | 2025.03.31 |
| Mysql 프로시저로 더미데이터 생성 (0) | 2025.03.18 |
| [쿠러미] 성능 테스트 시작 - Ngrinder (2) | 2025.03.17 |
| Service, Repository 단위 테스트 도입 (0) | 2025.03.14 |


